How To Make Elegant Borders for Your Photos for Free with BorderMaker
I was recently asked how did I make these elegant looking borders for my photos. A friend of mine from my Pentax days actually introduced a freeware to me after I asked him how he did his. Read on to see how I did it.
There's really such thing as a good freeware. And the software I used to create these borders are one of them, straightforwardly named: BorderMaker. It allows you to do batch processing of photos with a number of different border and watermark options.
The software runs on Windows, Mac and even Linux as it uses Java (yes, you'll need to install a Java runtime if you haven't, but it should be automatic during the installer process). The software itself is very lightweight (few MBs in size). I've tried on Windows and Mac and have run it on my Mac without issues. On my Windows, I actually encountered a bug where the Process button is greyed out IF I did not select a Destination Folder (you need to click Browse and select a folder) and then the button works. I did put up a comment on the developer page, but it wasn't updated. Not sure if he still works on this software, but I can't blame him since it works for most people.
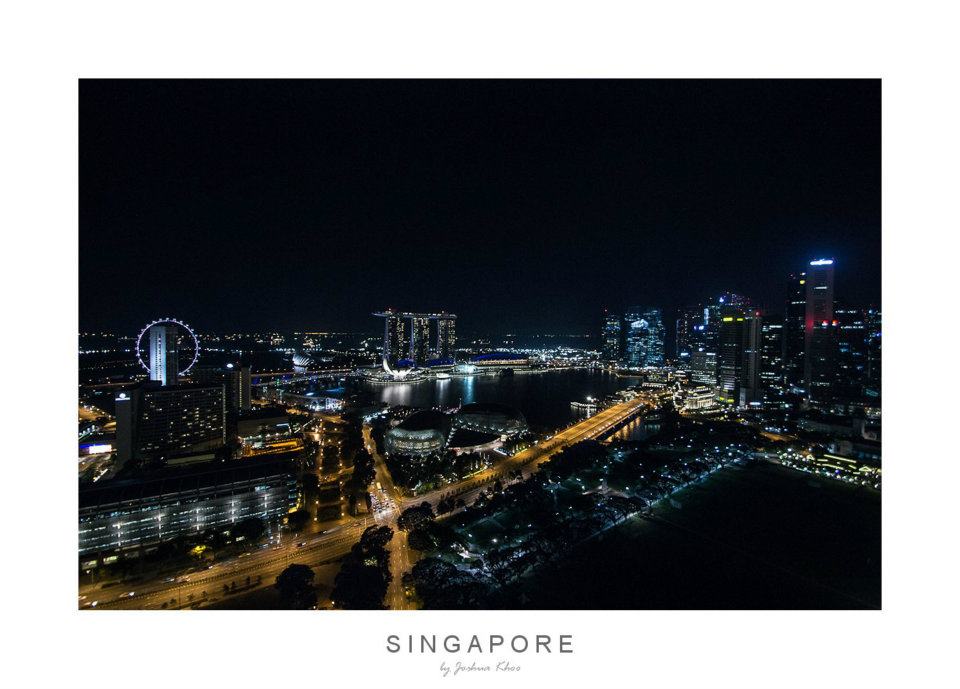
To make the output found in my previous article here, these are the steps that I took:
 |
| Step 1: Select your Source folder for photos you want to process |
 |
| Step 2: I resized my photos to 1024 pixels (for this blog) and kept the aspect ratio. |
 |
| Step 3: I created a white border first, with a pixel size of 75. There is a photo preview you can use, but be careful because it doesn't show the end result. You'll know what I mean when you try it for yourself. |
 |
| Step 4: I added two text lines. Choose any color and font you like. Make sure you offset both the text and give enough space for both lines. |
 |
| Step 5: Select your output folder. On the Mac, the output folder is default to the folder you used as source. On Windows, you need to select it manually or the Process button will be disabled. Finally, press Process (mine is disabled because my external hard drive was not plugged in) |
And viola! Professional looking borders! Hope this little tutorial helped a few good folks out.


Hi, Can you tell me where you downloaded the bordermaker software from.... I googled it and it came up on a number of sites.... some of which look really dodgy and one in particular known to attach malware to programs!!
ReplyDeleteThanks for your help.
Regards
Stuart
Hi Stuart, thanks for visiting my blog.
DeleteWell, I did a Google search and it's really the first site that came out.
http://www.bordermaker.nl/en/
:)